
How to Clean and Maintain Your Oil Burner
A step-by-step guide to cleaning wax and oil residue from your burner, how often to do it, and the small habits that keep a ceramic oil burner looking and smelling its best for years.

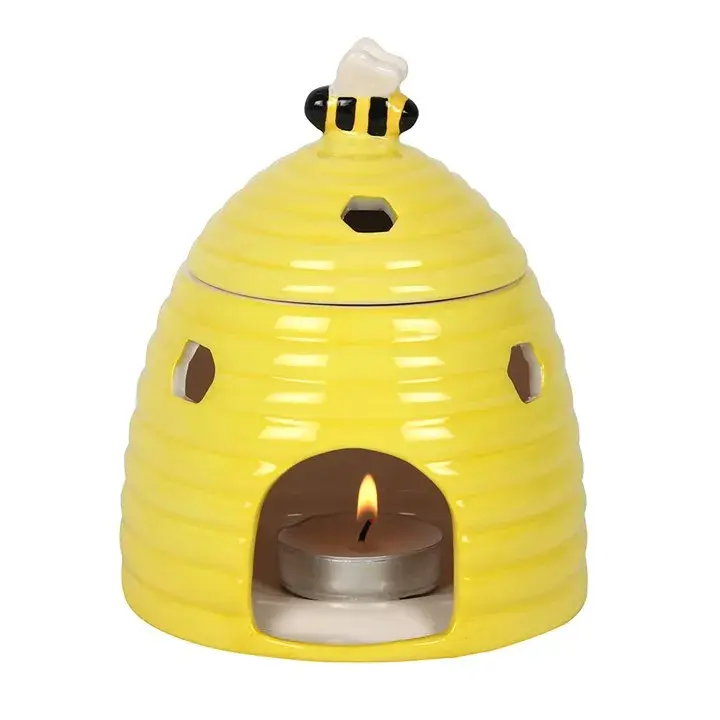
A beautiful oil burner earns its place on a shelf or table because of how it looks as much as how it scents a room. That charm fades fast if wax, oil residue and soot are left to build up. Knowing how to clean and maintain your oil burner properly is a five-minute job that keeps the ceramic bright, the fragrance true, and the piece itself lasting for years rather than months.
Whether you use yours for fragrance oils, wax melts, or both, the cleaning method is largely the same. This guide walks through exactly what to do, how often to do it, and the small maintenance habits that make the biggest difference.
Why Regular Cleaning Matters
Every time wax or oil is heated, a thin layer is left behind once it cools. Left alone, that layer darkens, traps dust and mixes old fragrances together, so a fresh wax melt or oil ends up smelling muddy rather than clean. Built-up residue can also affect how evenly the bowl heats, and a grimy dish is simply less pleasant to look at on display.
There is a safety angle too. A dish with old, hardened wax sitting in it heats unevenly and can scorch rather than melt cleanly, which is where unwanted soot marks usually come from. A quick clean between uses avoids all of this.
What You Will Need
- A soft cloth or paper towel
- Cotton wool balls or cotton pads
- Washing-up liquid and warm water
- A blunt tool such as a lolly stick or old spoon (never anything sharp)
- Rubbing alcohol or white vinegar, for stubborn marks
That is genuinely everything. No special products are needed, and most of this is already sitting in a kitchen cupboard.
How to Clean a Wax Melt Burner, Step by Step
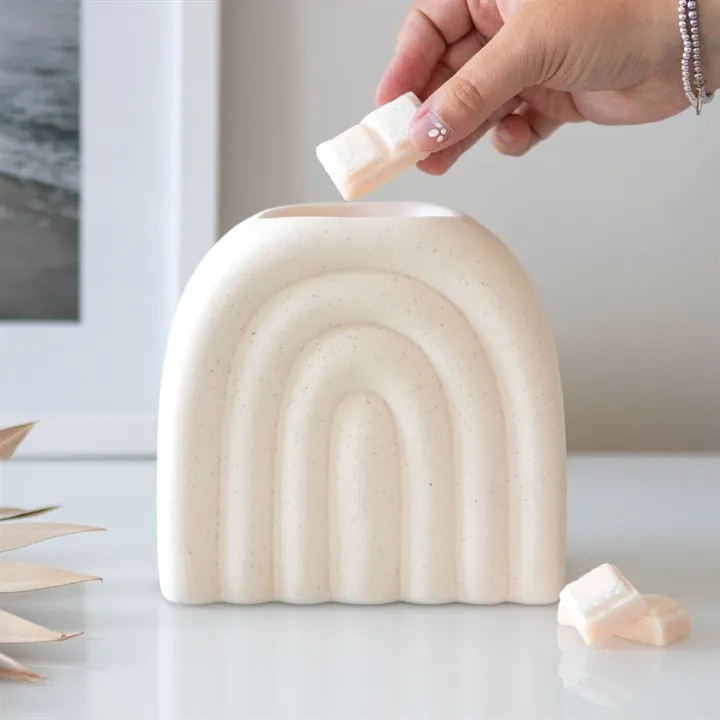
- Let it cool completely. Never attempt to clean a burner while it is warm or the dish still holds melted wax. Switch off the tea light or wax warmer and leave it for at least 30 minutes.
- Lift out the solid wax. Once fully cooled, old wax usually pops out as one solid disc. If it is stuck, pop the dish in the freezer for 10–15 minutes first. The cold makes the wax contract and release cleanly.
- Loosen any remaining residue. Use a blunt tool, such as a lolly stick, to gently scrape off anything left behind. Avoid metal spoons, knives or anything that could scratch the ceramic glaze.
- Wipe with a warm, soapy cloth. A cloth dipped in warm water with a little washing-up liquid will lift the last traces of wax and any colour staining.
- Tackle stubborn marks separately. For scented oil stains or a dark ring that will not budge, dab a cotton pad with rubbing alcohol or white vinegar and work it gently over the mark.
- Dry thoroughly before reuse. Leave the dish to air dry fully, or buff dry with a soft cloth, before adding a new wax melt or lighting the tea light underneath.
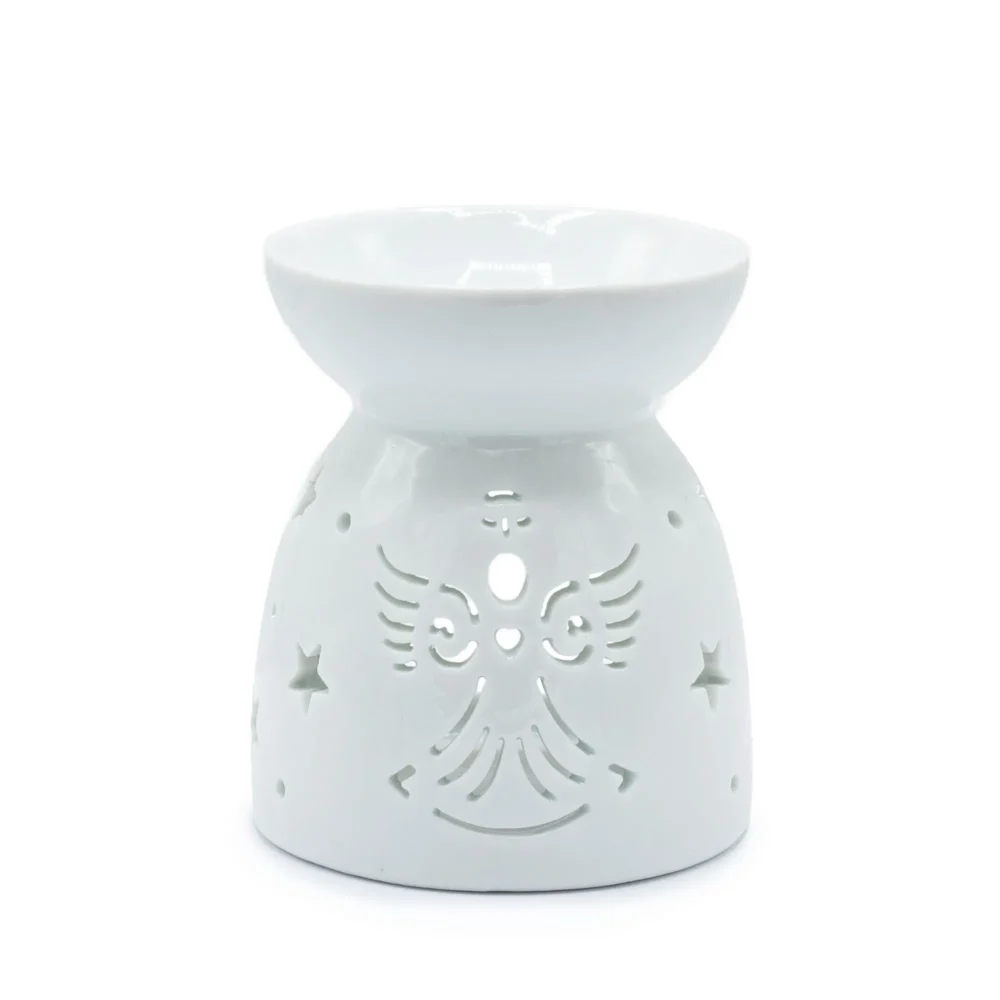
Cleaning an Oil Burner Used With Fragrance Oils
If your burner is the traditional kind, with a small bowl of water and a few drops of fragrance oil heated over a tea light, the process is slightly different because there is no solid wax to lift out.
- Once cool, tip away any leftover water and oil, ideally outside or down a sink rather than onto a work surface.
- Wipe the bowl immediately with a soft cloth, before any oily film has a chance to dry and harden.
- For an oily residue that has dried on, warm soapy water and a soak of a few minutes will usually lift it. Avoid abrasive scourers.
- Rinse well. Any leftover washing-up liquid will scent the next batch of water and oil, which rather defeats the point.
- Dry completely before adding fresh water and oil, since water left standing in a ceramic bowl can encourage a musty smell over time.
If you are still deciding which style suits your home best, our comparison of candles and oil burners and our guide to which burner suits wax melts best cover the differences in more detail.
How Often Should You Clean It?
As a simple rule, clean the dish every time you change fragrance, and give it a proper wipe-down after every two or three uses even if you are sticking with the same scent. Mixing old residue with a new wax melt or oil is the single biggest cause of a burner that smells “off” rather than fresh. If you tend to swap fragrances often, cleaning after every use will keep each scent true.
Maintenance Tips to Extend Its Life
Beyond the clean itself, a few habits keep a ceramic oil burner in good condition for years:
- Check tea lights are the right size. An oversized or poor-quality tea light can burn too hot, scorching the dish and leaving soot marks that are much harder to remove than wax.
- Inspect for cracks regularly. A hairline crack in ceramic can widen with repeated heating and cooling. If you spot one, retire the burner as a decorative piece rather than continuing to light it underneath.
- Keep it somewhere stable. A heat-safe, level surface away from draughts stops the dish heating unevenly, which both improves the scent throw and reduces scorching.
- Avoid the dishwasher. Hand washing in warm water is always safer for painted or glazed ceramic finishes, which can fade or crack under high heat and harsh detergents.
- Let soot marks fade naturally where possible. Light scorching on the underside of a tea light holder is cosmetic and will not affect function. Save vigorous scrubbing for the actual wax or oil dish.
For more on using these safely day to day, our guide on whether oil burners are safe indoors is worth a read alongside this one.
Troubleshooting Common Problems
Dark staining that will not lift: this is usually dye from a strongly coloured wax melt that has soaked into the glaze. A paste of bicarbonate of soda and a little water, left to sit for a few minutes before wiping, can help with the worst cases. Accept that some staining on pale ceramic may be permanent with very dark wax colours.
A burner that smells faintly even when empty: fragrance oil can soak into unglazed or porous ceramic over time. Washing with soapy water and leaving the dish to air out for a day or two in a well-ventilated spot usually clears it.
Wax will not melt evenly anymore: check the tea light is centred and the correct size for the burner, and confirm there is no old, hardened wax lining the base of the dish that is insulating it from the heat below.
A Little Care Goes a Long Way
None of this takes long, and most of it becomes second nature after the first few cleans. A burner that is looked after properly keeps its colours bright, its scent throw strong, and its place as a genuine fixture on a shelf rather than something that gets quietly retired to a cupboard after one too many sticky, sooty uses.
If you are just getting started, our beginner guide to oil burners is the natural companion to this one. And if yours is finally ready for retirement, you will find plenty of new favourites in our oil burners and wax warmers collection at The Hidden Hatch.